Sunday 25 September 2016

When Erin met Molly.

Today I come to you from the 08:03 from Bath Spa to Birmingham New Street. A BIG EXCITING DAY IS AHEAD - I am on my way to Sew Brum to meet real life ladies that sew.  Although I have been sewing for over two years I only know one other person that sews - Green Coffee Pot lives in Dorset, and I don't get to see her as often as I'd like to. Thanks to the internet (and luckily for Dave's sanity) I have Instagram friends to share my sewing 'triumphs'. To say I am over excited to meet some of you in person is an understatement!

*** I am now back at home typing up this blog post written the old fashioned way, and I can confirm I had the best time. My cheeks are still hurting from smiling so much!***

Anyway...back to the matter at hand. I was absolutely thrilled when the lovely ladies at Sew Over It offered me an advanced copy of their new e-book: My Capsule Wardrobe, City Break. A collection of patterns designed to take you from brunch in Paris, to sightseeing in Rome, to dinner in Barcelona! I have a lot, and I mean a lot, of African wax print fit and flare dresses, so I was excited at the prospect of adding to my slightly less abundant collection of more practical (?) separates. In the winter I tend to line my African wax in a matching viscose, so I do find the dresses very wearable in the autumn/winter layered with a brightly coloured jersey cropped jumpers. My go to pattern was the Tilly and the Buttons Coco top for the jumpers. I have 4 but only really tend to wear two of them due to the quality of the jersey (half the battle when sewing with knits eh?!). I found two pieces of beautifully soft 2-way stretch sweatshirt jersey from the Turkish markets in Berlin when I went in May.

The jersey perfectly matched some African wax I had in my stash so I eagerly sent the Erin Skirt and the Molly top to the printer. I even planned how this outfit would look!


I used this African wax for a dress I made for a lovely friend for a wedding this summer. The fabric was from Middlesex Textiles. I think it is out of stock, but you might be able to find it by searching for Guaranteed Dutch Wax Holland A6002.


The Molly top has kimono sleeves and a neckband - having never tried neither in a knit I was keen to get stuck in. I skipped down to my local haberdashery to get some matching thread for my overlocker. The last time I sewed with knits, I didn't own my lovely Brother 1034D, so I was keen to sew the whole thing up on her. The top came together very quickly, the only part I sewed on my regular machine was the neckband. As Lisa explains in the book, jersey fabrics tend to vary in their stretch which makes the required length of the neckband difficult to predict. So just incase I needed to unpick I returned to the safety of a basting stitch.

I cropped the length of the jumper to hit just below the waist. Unfortunately, I didn't think to make the side seams narrower as the hit the hem. Therefore I ended up easing too much length into the hem giving me a rather lumpy, stretched out finish. Luckily I was able to unpick and bring in the side seams a little before re-hemming.

Another horror moment was sewing over a pin with my overlocker and completely sheering off the blade! Safety googles were required! Luckily I've got a new one in the post, and I've learnt my lesson!

I wore my jumper that afternoon on a walk with my chap, and I've reached for it several times in the week to layer over different dresses - it seems to match so many! However, with Sew Brum coming up I knew I wanted to complete the Erin skirt to wear on the day.

I got cooed at by two elderly ladies in this outfit - maybe too 'cute' for my juvenile face and stature?!

The pattern calls for a non-stretch Denim, and I do love that look - I think it could work with my African Wax crop tops, so there may well be another! .....but I find it SO hard to resist COLOUR and African Wax has such amazing structure I knew it would work well too.

I decided to line the skirt so I could wear it through autumn/winter with tights. Fashion Fabrics on Green Street (in Bath) do a range of beautifully soft Viscose in a few different colours.  I merrily trotted down in high hopes that I'd find either a pink or blue to match - I was in luck! For the buttons, I decided to go for these beautiful wooden ones. In all honesty, they were the only choice that would work in the shop I was in and I was too lazy to walk to the larger choice! Ultimately though, I think they worked well with the contrast pink thread.


These buttons did give me some jip after lunch at Sew Brum as I straddled a bench in a very un-lady like manner and popped three of them off! My first wardrobe malfunction surrounded by sewists! Don't worry; I took it like a trooper to Rhiannon's (Rhiannon Brum) amusement, and I had them sewn back on in no time in the toilet! Apparently, this is a recurring occurrence at Sew Brum as Gabby (Gabberdashary) suffered a similar incident last year! 

Erin Skirt twinning with Gabby!
You can see Gabby's version here on her vlog 

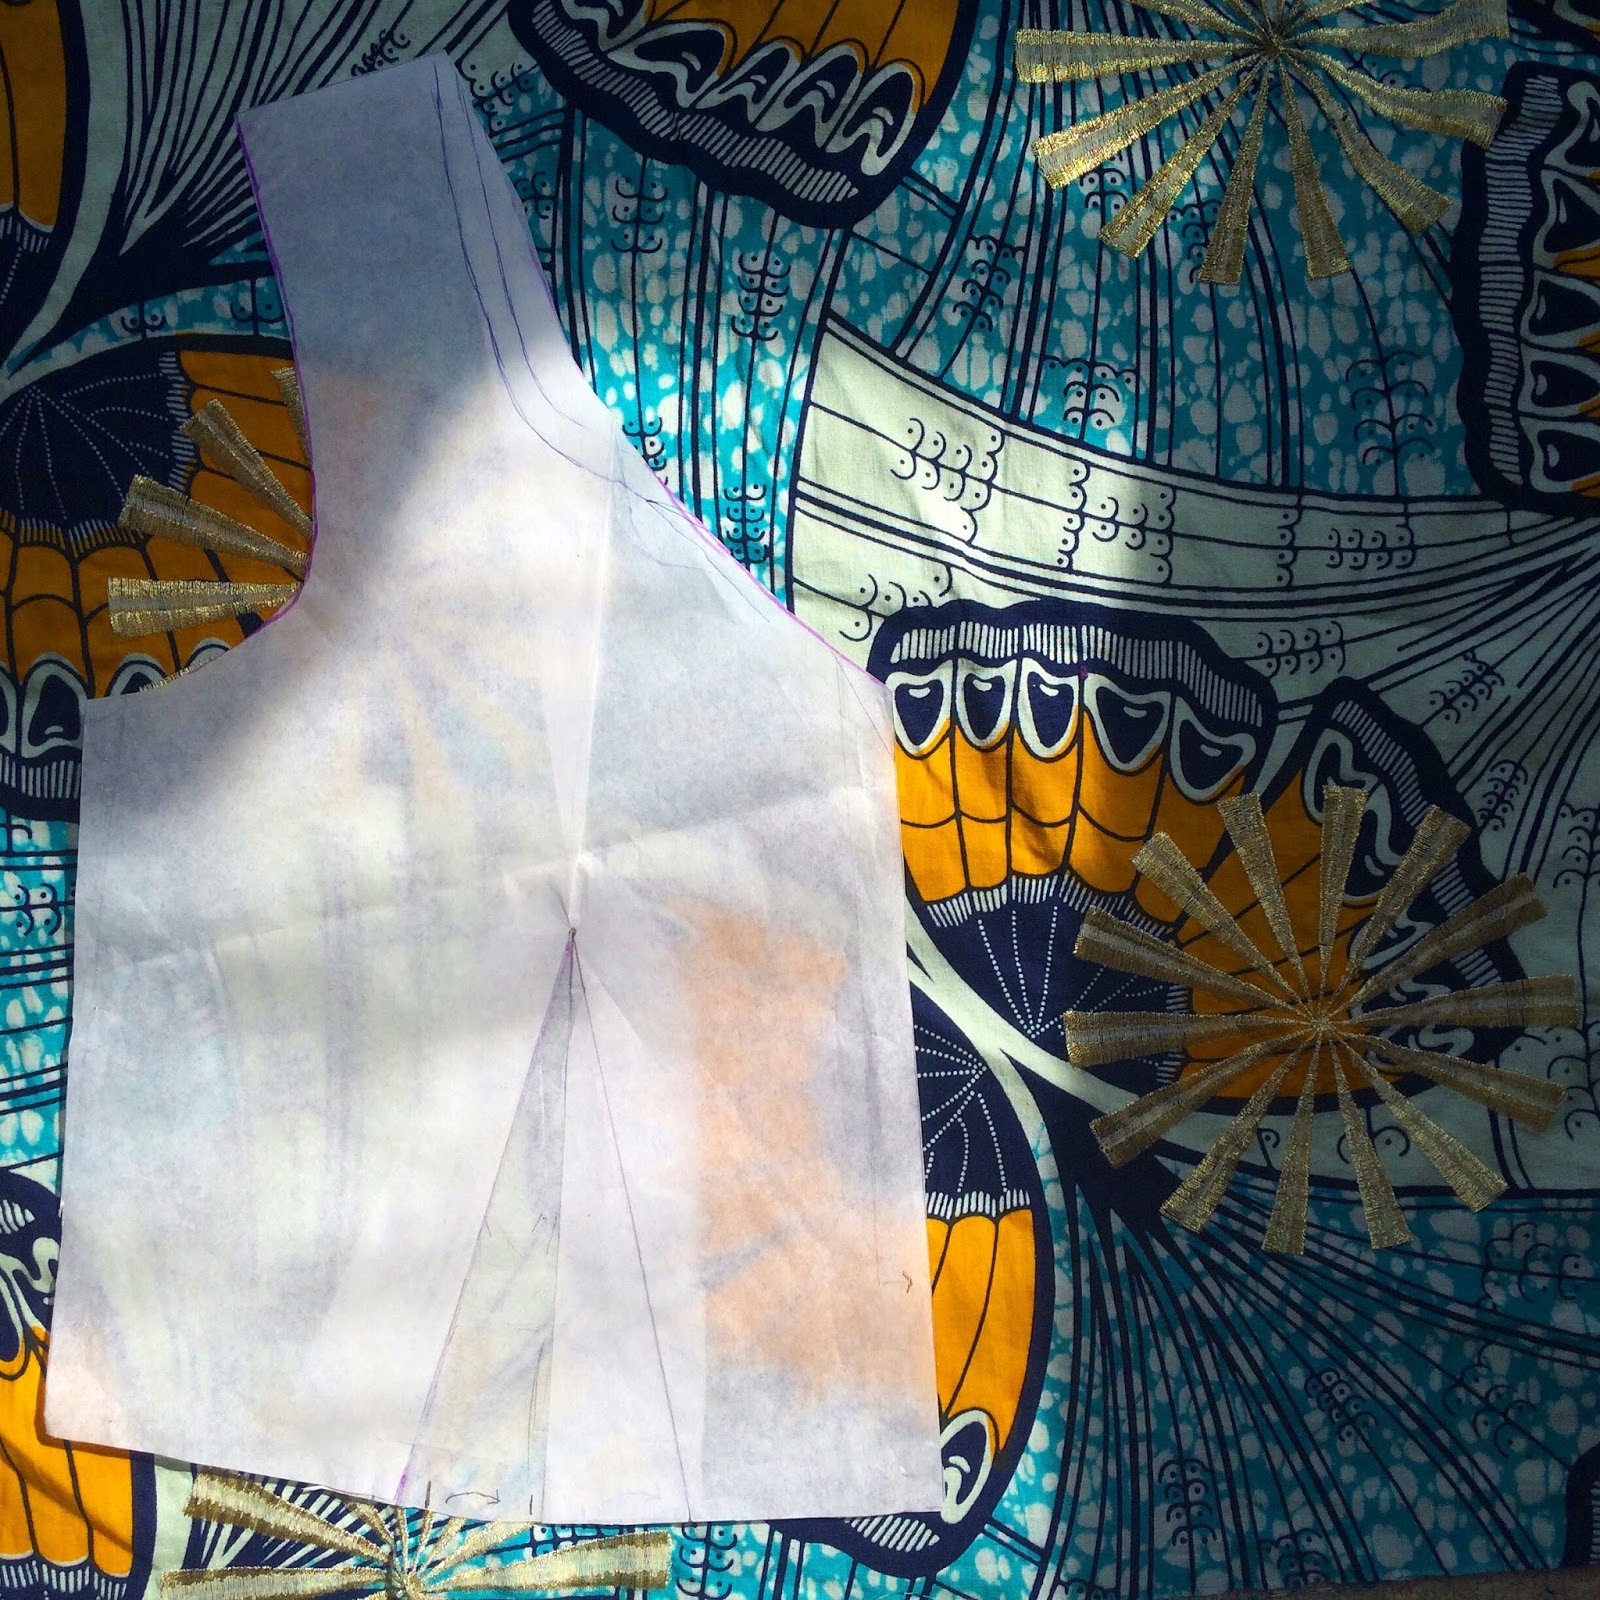
To line the skirt I pinned the pocket facing to front skirt piece and cut the lining out as a complete piece. 


I then sewed the darts and side seams before checking the fit and cutting into my main fabric. I was lucky, and it fit right out of the packet. After I had finished the main skirt and had interfaced the placket, I attached it to the lining wrong side together. I left the lining free along the bottom so I hemmed it at this point. I then sewed the two layers together at the centre front before folding over 1.5cm, forming the placket and top stitched in place. Then all that was left was the waistband, button holes and hand sewing! 


 I used the SEWVEE hem finish of choice - A hand stitched bias binding facing - as ALWAYS.


First day of tights :(

Not for the photos though!

More hair than human.


Worn with my nude Lotta clogs
The skirt is a bit of a deviation from my normal style, but I totally love it and think I will get a lot of wear over the cooler months. I'll just have to keep reminding myself not to do any more deep lunges...

Right, I've got a veggie curry and a unfeasible amount of Chocolate nasty planned for this evening to help me recover from the dizzy heights of the weekend. 

Chocolate Nasty in preparation. 

Thank you again to the lovely Sew Over It ladies. The e-book is such a wearable collection of patterns - Congratulations!


Love, 

Vic xx


Sunday 18 September 2016

Make a clutch bag, matching confetti NOT necessary!

The wedding gushing continues! If you don't know my best friend got married two weeks ago. It was an ABSOLUTELY amazing day. Let's nip that in the bud and move on... before I wail. I had the pleasure of making four bridesmaid dresses and while I await the official photography I thought I'd share the clutch bags I made for the big day, one for each of the girls and the bride.


The bags were cut from the same fabric that I used to line the dresses. I included a coin/card pocket, a wrist strap, a magnet fastener and I lined them in the main dress fabric.


The Bride and I have been friends long enough to match the lining perfectly to the flowers with the briefest of discussions (pah - it was a happy accident!). We talked over the phone about the colours in the bouquet before I merrily popped off to buy this gorgeous print (Regent Street for Moda) from a local fabric shop (Country Threads, also available here). It turned out to be the perfect match for the flowers - it must be the Biotine bond!


I also made little confetti bags, and I went all out and matched the petal confetti. Who knew I'd be THAT kind of girl?! I scoured the internet for matching confetti!!! 2 years ago I could count the number of items I had ironed on one hand. Look at me now... THIS BRINGS ME JOY:

!!!
God help Dave if we ever get married.

I wanted a simple clutch bag with a low profile. I searched the internet for a tutorial, but couldn't find exactly what I was looking for. So I decided to give it a go myself. I used my Swedish tracing paper to get a rough idea of the size and shape I was looking for. Then I got drafting. You can download the simple pattern I made here

You will need:
  1. 0.5m of main fabric - I used Regent Street by Sentimental Studios for Moda. Available here.
  2. 0.5m of lining fabric - I used a navy crepe from John Lewis 
  3. Iron on interfacing to match the weight of your fabric
  4. Sew in foam stabiliser or something to give the bags body - I used some old curtain lining!
  5. A magnetic bag fastener
S/A 3/8" unless stated.


1. Cut out the bag, the strap, and the pocket from your main fabric. You need one bag piece cut from your lining fabric.

2. Iron on your interfacing to your shell bag fabric.

3. Mount the shell fabric onto your stabiliser. I pinned wrong sides together and sewed around with a 2/8" S/A. Then I used the main fabric as a guide to cut it out.


4.  Sew the pocket pieces together right sides together. Stop 2cm before you reach the original stitch point so you can turn the pocket right sides out. Press and hand sew closed.

5. Align the pocket piece 2.5cm down from the flap fold line on the lining piece and stitch in place. 


6. Mark the position of the magnetic fasteners, and snip two holes for the metal legs. Push the clasp through and bend the legs to secure.


7. Fold the strap in half length ways right sides together and turn out the right way. Press. Check out a real easy way to do this here.

8. Sandwich the strap between the right sides of the main shell, making sure the strap is aligned at 3/8" from the top of the seam. Pin in place.

9. Stitch the side seams on the main shell and the lining.


10. Then using the bagging out technique, place the lining inside the shell right sides together (Diagram A). Pin and sew around the 'flap' and the opening of the bag (Diagram B). Leave a couple of cms to turn the bag right sides out. I didn't actually use this technique on the bag I photographed as it only dawned on me after I had made the first bag! That is why on the picture above the lining is right sides out as I stitched the lining to shell before stitching the side seams.

A
B

11. Turn the bag right sides out and press.
12. Hand sew the opening closed.

Your bag is finished!


Here is a sneaky peak of the girlies and I in the bridesmaid dresses clutching our bags! 


Let me know in the comments if you sew one of these clutch bags, or if you are thinking of doing some crafting for a wedding. 

Until next time, 

love
Vic x 

Sunday 4 September 2016

The Butterfly and Gold Thingy

You'll have to forgive me; I just got back from my best friend's wedding, and I am recovering from the giddy heights of the weekend. I keep spontaneously bursting into tears - I'm STILL in full blown hysteria. So this post might be a little incoherent!

It was one of the most fantastic weekends of my life. I am black and blue all over, and I cannot get my feet clean. Signs of a bloody wonderful night. Those guys can plan a wedding! Of course, I couldn't let the day pass without some sewing for the big day. I had the absolute pleasure of making four bridesmaid dresses, with matching clutch bags and confetti bags as well as a cathedral veil, a garter, slippers and an eye mask for the bride. Blog post to follow!

For now, I've got a dress to share with you that I made for the meal the night before the wedding: The butterfly and gold thingy. The dress was named by Linda P on instagram (Daisy creates in Sussex). Does what it says on the tin!

So here she is!


I found this stunning fabric from Empire Textiles. I think this my favourite wax fabric yet. I love the colours, the massive print and of course, the gold embroidered stars. The butterflies are about 30cm across. I think this a personal best for ridiculous scale on a SEWVEE dress!

If you love this print I have ONE crop top made from it on my etsy shop in a size 10! Find it HERE. Plus bow ties for the chaps HERE.


I altered my bodice block by lowering the back and front neckline. I had a few attempts at this to get the pretty shape I wanted. I then moved the bust dart to the waist to avoid breaking up the print. I was little lazy and skipped the toil phase and just cut straight into my lining. I sewed it up and basted the side seams to check the fit. I lowered the neckline a little at this point - I always find it hard to judge when flat. Then after a deep breath, I cut into my beautiful fabric.  I knew I wanted a butterfly flitting across my chest so I played around with the pattern placement for a LONG time.


This is what I settled for.

The bodice sewed up pretty quickly, and I was already head over heels! Next, the skirt. I love the skirt on my Peacock dress so much I didn't even think twice about the shape I wanted for this one (You can read about the Peacock dress here). Plus I had already drafted the pattern, and I was beside myself with excitement to finish her! I went for French seams and a Hong Kong finish at the zip as always. Finally, I finished the hem with the SEWVEE standard - a bias binding facing in a contrast navy blue. It gives the skirt such a lovely shape and hang.

Pretty happy with my pattern placement at the waist seam.


Pattern matching is a little off on the back but as it is just for me
 and I can't see that back I didn't re-do it!

No worries here...

Sneaky side eye.

Pockets in dresses are now a complete must have for me. I am never out of dresses and before I could sew I'd begrudgingly wear jeans when I needed to wear something more practical. No need now! I made a little video tutorial on my Instagram showing how to insert pockets with a French seam if you fancy a look.


I didn't quite have enough fabric to pattern match down the skirt seam as I had promised myself a circle skirt out of this fabric too. I managed to cut either side of the butterflies and altered the pattern so I had a super small seam allowance to prevent losing as much of the butterfly wings as possible.

Looking casual with a bench.


This dress isn't exactly the kind you pop down to the supermarket in (although I doubt that'll stop me!), therefore I fancied something I could wear every day in this AMAZING fabric too. I went for a simple half circle skirt. I really have worn it everyday! 


Perfect with my Lotta clogs


Of course pockets!

The skirt is perfect with so many of my tops.
It so hard not to reach for it in the morning.

Thanks once again to my wonderful partner and photographer - you are bloody great Davy Max. 

Right that's all from me. I've got some more recovering to do. My BEST FRIEND IS A WIFE!!!!!! Oh ---- and I've gone again *Wails*

Thank you for all the love and support - the sewing community is AMAZING. 

Gosh, weddings make me gushy. 

Love 

Vic xx